 I grew up making bread. As I’ve been told, the first recipe I ever knew by heart was a cornbread recipe. But as I’m getting older, the sad reality is dawning on me that a diet entirely dominated by delicious bread and baked goods is not going to be very waistline-friendly. That being said, I still make bread all the time; now I just make smaller amounts of it, but that is not always an easy task given that bread recipes often do not scale easily/evenly. So this is a simple bread recipe that only makes 12 (albeit a fairly large 12) garlic knots. If you have a significant other, great, now you can split it evenly and distribute the consumption. If you have a significant other and kids/niece(s)/nephew(s)/neighbors/friends, even better. But I should warn you, you might not give these up so easily once you’ve tried them!
Dough
3.5 c white flour + extra for dusting
1.5 tsp salt
1.5 – 2 tbsp yeast or 1/2 cake compressed yeast crumbled
1.25 c warm tap water
2 tbsp butter
Topping
1 tsp extra virgin olive oil (a drizzle)
6-9 large garlic cloves
1 tsp salt
1 egg
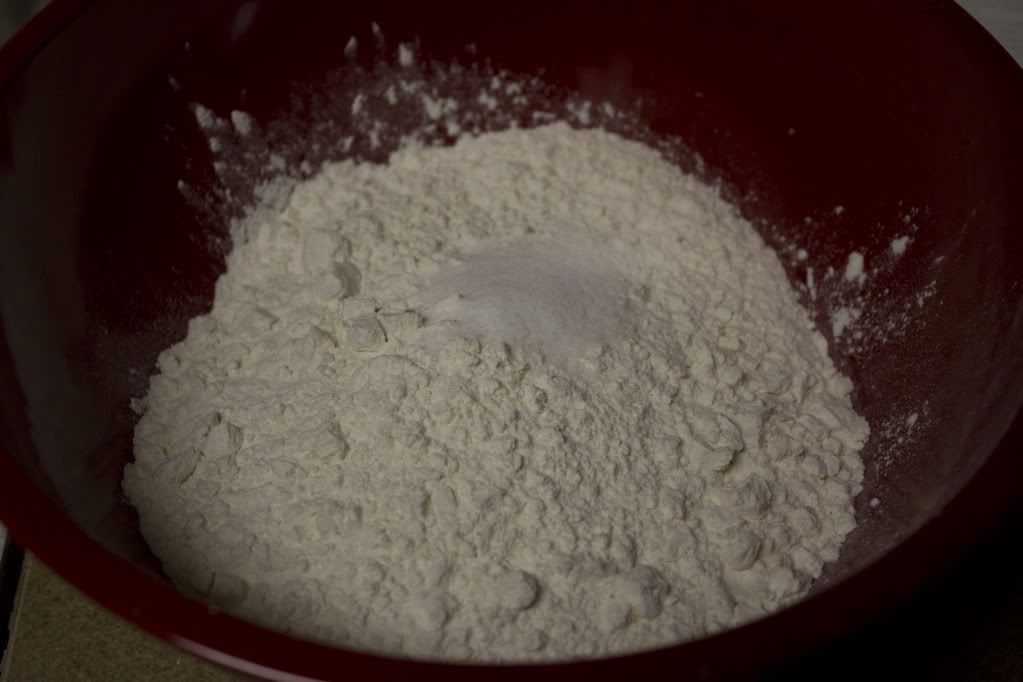
To make the dough, mix the flour and salt in a large mixing bowl. In a separate bowl (I just use the liquid measuring cup), mix the yeast in to the warm water using a whisk. Pour the water and yeast mixture in to the bowl with the flour and salt. Mix using a wooden spoon until it starts to come together and them use your hands to work in the remaining flour. For those of you who do not make bread very often, be prepared to add extra flour or water depending on the humidity of the day and climate. In South Carolina, I often need to add more flour, but with this batch of the rolls I needed to add more water. Just be flexible, and remember that if you add too much of the water, you can balance it by adding additional flour a little at a time until it’s back on track; too much flour and you can add additional water a little at a time as well.
Once all of the flour has been worked in, dump the dough out on to a floured counter top. Don’t sprinkle too much flour though, a thin dusting will suffice; the goal is just to keep the dough from sticking to the counter. Knead the dough until it is smooth and fairly elastic. This can take several minutes, so turn up the music a bit and keep at it. Once you’ve finished kneading the dough, grease a large mixing bowl and place the dough in it. Cover with a damp kitchen towel, or greased plastic wrap. Set the bowl in a warm place and let it rise until it has doubled in size; this normally takes a couple hours. If your house tends to be a bit chilly, you can turn the oven on to 200º F and place the bowl next to the stove top (though do not place it on top of the stove as the bottom of the dough ball will start to cook). If you are using the oven as a source of warmth, turn the bowl frequently during the rising time and check it often. Also, make sure that if you are using a towel that it remains damp the whole time.
There are two ways to make the garlic topping: version one is a very strong toasted garlic, and version 2 is a milder, roasted garlic. Really consider the audience when deciding between the two.
Toasted Garlic: This method is the faster of the two and provides a stronger flavor for the true garlic lovers (like my boyfriend). Peel the garlic cloves and throw them in to a small food processor if you have one, or dice the garlic by hand. If you’re using a food processor, drizzle some olive oil into the food processor and sprinkle a pinch of salt (is using measurements, see the “toppings” ingredient list above). Then pulse until the garlic is in fairly uniform, small pieces. If mincing the garlic by hand, finely dice the cloves and in a bowl, drizzle with olive oil and sprinkle with salt; mix until combined.
Roasted Garlic: This method is, arguably, the more sophisticated of the two, but takes a little longer to prepare. To do this, cut the tops off of a bulb of garlic and place upright on a baking sheet. Move the rack to upper-middle (though, be careful if the oven is already on for warming the dough!) and roast the garlic until the papery skin is yellowed and beginning to brown. The actual cloves should be soft and almost mushy when they are finished roasting. Squeeze the roasted garlic in to a bowl, add the oil and a pinch of salt and mix until combined.
Once the topping has been prepared, dust the counter with flour again and dump the now very fluffy ball of dough on to it. Using a knife, divide the dough in to twelve equal parts. I normally cut it in half and then each half in to thirds, and then each third in half, but remember that the dough needs to remain fairly moist, so only make a few cuts at a time and work quickly. Roll each piece in to a thin strip about 8-10 inches long. At this point you can either: a) spread the garlic topping the length of the dough now and then tie the strip into a knot, or you can tie the knot and add the garlic topping to the top of the knots only. Either way is delicious. To tie the knot, it is the first part of tying shoes: make a loop with the ends dangling, tuck one end through the loop, and tighten.
Once all twelve knots are made and the garlic has been added, place them on lightly greased cooking sheets (about six per sheet, with plenty of space between them) and cover them with damp tea kitchen towels. Let them rise while the oven heats up to 400°F. Once the oven is preheated, remove the towels and whisk an egg with a splash of water to create an egg wash. Brush the egg wash lightly over the knots and then place both trays of garlic knots in to the oven. Let them cook for approximately ten minutes, but keep an eye on them to make sure that the timing is adjusted appropriately for your oven.
Once you take them out of the oven, let them cool on wire racks and then serve or place them in plastic bags. They will store well for about two days, but I doubt they will last that long!


